Getting Started Guide
Development Kit
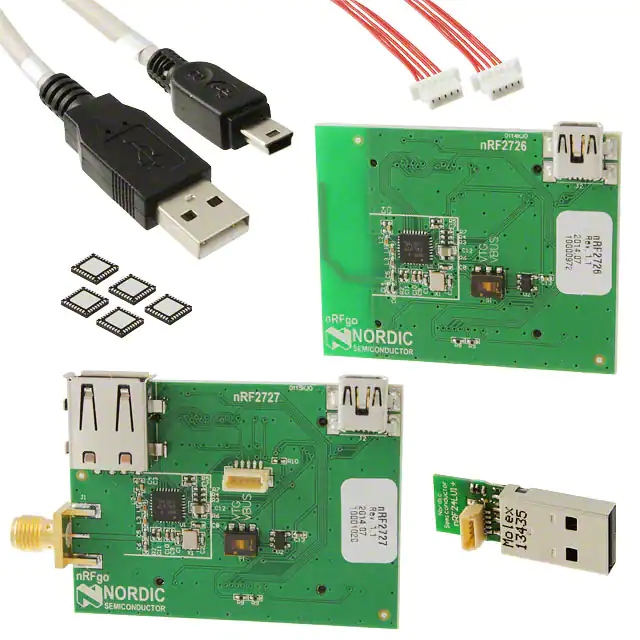
nRF24LU1+
nRF24LU1P-FxxQ32-DK
�1. Register at www.nordicsemi.com and download all kit software
and documentation
1. Go to www.nordicsemi.com
2. Log in to your MyPage account (or create an account first if you don’t already have one).
3. Select My Products from the left menu.
4. From the Add Product list, select nRF24LU1+ Development Kit.
5. Click Add.
6. Click the Downloads link in the Overview, My Products table. Available documentation
and software are listed on the Downloads tab.
7. Below Software click nRFgo Studio and run the install file.
8. The software will be available from your Windows Start menu.
2. Plug in the radio module
Plug the nRF2726 or nRF2727 nRFgo
module into the nRF module socket on
an nRFgo Starter Kit Motherboard
(sold separately).
Make sure switch S1 on
nRF2726/nRF2727 is set to VTG.
�3. Connect Starter Kit
Motherboard
Connect the nRFgo Starter Kit
Motherboard to an available USB port
on your computer using a USB cable.
4. Power On
1. Turn the S8 switch on the nRFgo
Motherboard to VBUS.
2. Turn the S9 switch on the nRFgo
Motherboard to On.
3. The VTG and VCC LEDs
will light up green.
�5. Start nRFgo Studio
www.leoxpress.no
1. From the Windows Start menu on
your computer go to All Programs -
Nordic Semiconductor - nRFgo
Studio.
2. The connected nRFgo Development
Kit is found at Board 0 ->
in the
nRFgo Studio Device Manager.
�
NRF24LU1P-FXXQ32-DK 价格&库存
很抱歉,暂时无法提供与“NRF24LU1P-FXXQ32-DK”相匹配的价格&库存,您可以联系我们找货
免费人工找货