Page 1 of 2
Getting Started Guide
• Set the JP5 jumper to E5V on the Nucleo
• Place the Skywire Shield onto the Nucleo as pictured
• Place the Skywire modem onto the Shield as picture and attach the antenna U.FL coax cable as pictured
• Plug the 12V wall supply into the Skywire Shield
• Go to https://freeboard.io/ (https://freeboard.io/) and create a user account
• Once you are logged into your Freeboard account, go to https://freeboard.io/board/jqlneI (https://freeboard.io/board/jqlneI) and
clone the dashboard by clicking the CLONE link in the lower right corner
�Page 2 of 2
• The new dashboard will show up on you account list under My Freeboards, you can then edit the name to whatever you like
• Under the Datasources tab on the dashboard, click the skywire link
• Change the THING NAME field to a unique string, we recommended using the MEID on the Skywire Modem, but it could be
anything you want.
• Next Import the Skywire_Demo program into the online compiler
• Open main.cpp and go to Line 26, change the DeviceID to the THING NAME you entered into your Freeboard
main.cpp
1 /* --CHANGE THIS FOR YOUR SETUP" -- */
2 #define DeviceID "DweetIODeviceName" //Freeboard DweetIO unique ID
• Compile and upload to the Nucleo, cycle power to the shield and the sensor data should start to upload to your new
Freeboard.
http://developer.mbed.org/teams/Nimbelink/code/Skywire_Demo/
4/22/2015
�
很抱歉,暂时无法提供与“NL-AB-ST-NCL”相匹配的价格&库存,您可以联系我们找货
免费人工找货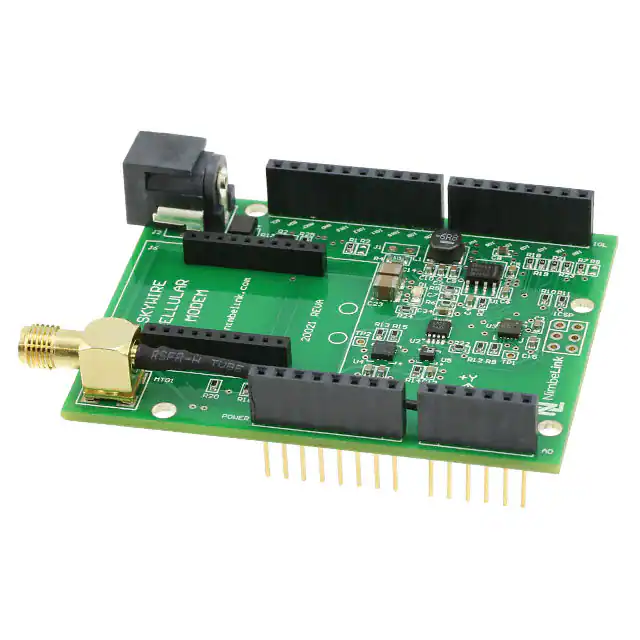


 工商网监
湘ICP备2023018690号
工商网监
湘ICP备2023018690号
